\n GT')
for i, filename in enumerate(sorted(images_dir)):
if filename.endswith("txt"): continue
print(filename)
base = "{}".format(filename)
if True:
html.write("
\n")
html.write(f'
{filename}\n GT')
html.write('
GT 310\n
' % (base))
html.write("
\n")
html.write('\n')
html.write('
\n')
html.write('\n\n')
print("ok")
def crop_seal_from_img(label_file, data_dir, save_dir, save_gt_path):
if not os.path.exists(save_dir):
os.makedirs(save_dir)
datas = open(label_file, 'r').readlines()
all_gts = []
count = 0
for idx, line in enumerate(datas):
img_path, label = line.strip().split('\t')
img_path = os.path.join(data_dir, img_path)
label = json.loads(label)
src_im = cv2.imread(img_path)
if src_im is None:
continue
for c, anno in enumerate(label):
seal_poly = anno['seal_box']
txt_boxes = anno['polys']
txts = anno['texts']
ignore_tags = anno['ignore_tags']
box = poly2box(seal_poly)
img_crop = src_im[box[0][1]:box[2][1], box[0][0]:box[2][0], :]
save_path = os.path.join(save_dir, f"{idx}_{c}.jpg")
cv2.imwrite(save_path, np.array(img_crop))
img_gt = []
for i in range(len(txts)):
txt_boxes_crop = np.array(txt_boxes[i])
txt_boxes_crop[:, 1] -= box[0, 1]
txt_boxes_crop[:, 0] -= box[0, 0]
img_gt.append({'transcription': txts[i], "points": txt_boxes_crop.tolist(), "ignore_tag": ignore_tags[i]})
if len(img_gt) >= 1:
count += 1
save_gt = f"{os.path.basename(save_path)}\t{json.dumps(img_gt)}\n"
all_gts.append(save_gt)
print(f"The num of all image: {len(all_gts)}, and the number of useful image: {count}")
if not os.path.exists(os.path.dirname(save_gt_path)):
os.makedirs(os.path.dirname(save_gt_path))
with open(save_gt_path, "w") as f:
f.writelines(all_gts)
f.close()
print("Done")
if __name__ == "__main__":
# 数据处理
gen_extract_label("./seal_labeled_datas", "./seal_labeled_datas/Label.txt", "./seal_ppocr_gt/seal_det_img.txt", "./seal_ppocr_gt/seal_ppocr_img.txt")
vis_seal_ppocr("./seal_labeled_datas", "./seal_ppocr_gt/seal_ppocr_img.txt", "./seal_ppocr_gt/seal_ppocr_vis/")
draw_html("./seal_ppocr_gt/seal_ppocr_vis/", "./vis_seal_ppocr.html")
seal_ppocr_img_label = "./seal_ppocr_gt/seal_ppocr_img.txt"
crop_seal_from_img(seal_ppocr_img_label, "./seal_labeled_datas/", "./seal_img_crop", "./seal_img_crop/label.txt")
```
处理完成后,生成的文件如下:
```
├── seal_img_crop/
│ ├── 0_0.jpg
│ ├── ...
│ └── label.txt
├── seal_ppocr_gt/
│ ├── seal_det_img.txt
│ ├── seal_ppocr_img.txt
│ └── seal_ppocr_vis/
│ ├── test1.png
│ ├── ...
└── vis_seal_ppocr.html
```
其中`seal_img_crop/label.txt`文件为印章识别标签文件,其内容格式为:
```
0_0.jpg [{"transcription": "\u7535\u5b50\u56de\u5355", "points": [[29, 73], [96, 73], [96, 90], [29, 90]], "ignore_tag": false}, {"transcription": "\u4e91\u5357\u7701\u519c\u6751\u4fe1\u7528\u793e", "points": [[9, 58], [26, 63], [30, 49], [38, 35], [47, 29], [64, 26], [81, 32], [90, 45], [94, 63], [118, 57], [110, 35], [95, 17], [67, 0], [38, 7], [21, 23], [10, 43]], "ignore_tag": false}, {"transcription": "\u4e13\u7528\u7ae0", "points": [[29, 87], [95, 87], [95, 106], [29, 106]], "ignore_tag": false}]
```
可以直接用于PaddleOCR的PGNet算法的训练。
`seal_ppocr_gt/seal_det_img.txt`为印章检测标签文件,其内容格式为:
```
img/test1.png [{"polys": [[408, 232], [537, 232], [537, 352], [408, 352]], "cls": 1}]
```
为了使用PaddleDetection工具完成印章检测模型的训练,需要将`seal_det_img.txt`转换为COCO或者VOC的数据标注格式。
可以直接使用下述代码将印章检测标注转换成VOC格式。
```
import numpy as np
import json
import cv2
import os
from shapely.geometry import Polygon
seal_train_gt = "./seal_ppocr_gt/seal_det_img.txt"
# 注:仅用于示例,实际使用中需要分别转换训练集和测试集的标签
seal_valid_gt = "./seal_ppocr_gt/seal_det_img.txt"
def gen_main_train_txt(mode='train'):
if mode == "train":
file_path = seal_train_gt
if mode in ['valid', 'test']:
file_path = seal_valid_gt
save_path = f"./seal_VOC/ImageSets/Main/{mode}.txt"
save_train_path = f"./seal_VOC/{mode}.txt"
if not os.path.exists(os.path.dirname(save_path)):
os.makedirs(os.path.dirname(save_path))
datas = open(file_path, 'r').readlines()
img_names = []
train_names = []
for line in datas:
img_name = line.strip().split('\t')[0]
img_name = os.path.basename(img_name)
(i_name, extension) = os.path.splitext(img_name)
t_name = 'JPEGImages/'+str(img_name)+' '+'Annotations/'+str(i_name)+'.xml\n'
train_names.append(t_name)
img_names.append(i_name + "\n")
with open(save_train_path, "w") as f:
f.writelines(train_names)
f.close()
with open(save_path, "w") as f:
f.writelines(img_names)
f.close()
print(f"{mode} save done")
def gen_xml_label(mode='train'):
if mode == "train":
file_path = seal_train_gt
if mode in ['valid', 'test']:
file_path = seal_valid_gt
datas = open(file_path, 'r').readlines()
img_names = []
train_names = []
anno_path = "./seal_VOC/Annotations"
img_path = "./seal_VOC/JPEGImages"
if not os.path.exists(anno_path):
os.makedirs(anno_path)
if not os.path.exists(img_path):
os.makedirs(img_path)
for idx, line in enumerate(datas):
img_name, label = line.strip().split('\t')
img = cv2.imread(os.path.join("./seal_labeled_datas", img_name))
cv2.imwrite(os.path.join(img_path, os.path.basename(img_name)), img)
height, width, c = img.shape
img_name = os.path.basename(img_name)
(i_name, extension) = os.path.splitext(img_name)
label = json.loads(label)
xml_file = open(("./seal_VOC/Annotations" + '/' + i_name + '.xml'), 'w')
xml_file.write('\n')
xml_file.write(' seal_VOC\n')
xml_file.write(' ' + str(img_name) + '\n')
xml_file.write(' ' + 'Annotations/' + str(img_name) + '\n')
xml_file.write(' \n')
xml_file.write(' ' + str(width) + '\n')
xml_file.write(' ' + str(height) + '\n')
xml_file.write(' 3\n')
xml_file.write(' \n')
xml_file.write(' 0\n')
for anno in label:
poly = anno['polys']
if anno['cls'] == 1:
gt_cls = 'redseal'
xmin = np.min(np.array(poly)[:, 0])
ymin = np.min(np.array(poly)[:, 1])
xmax = np.max(np.array(poly)[:, 0])
ymax = np.max(np.array(poly)[:, 1])
xmin,ymin,xmax,ymax= int(xmin),int(ymin),int(xmax),int(ymax)
xml_file.write(' \n')
xml_file.write('')
xml_file.close()
print(f'{mode} xml save done!')
gen_main_train_txt()
gen_main_train_txt('valid')
gen_xml_label('train')
gen_xml_label('valid')
```
数据处理完成后,转换为VOC格式的印章检测数据存储在~/data/seal_VOC目录下,目录组织结构为:
```
├── Annotations/
├── ImageSets/
│ └── Main/
│ ├── train.txt
│ └── valid.txt
├── JPEGImages/
├── train.txt
└── valid.txt
└── label_list.txt
```
Annotations下为数据的标签,JPEGImages目录下为图像文件,label_list.txt为标注检测框类别标签文件。
在接下来一节中,将介绍如何使用PaddleDetection工具库完成印章检测模型的训练。
# 4. 印章检测实践
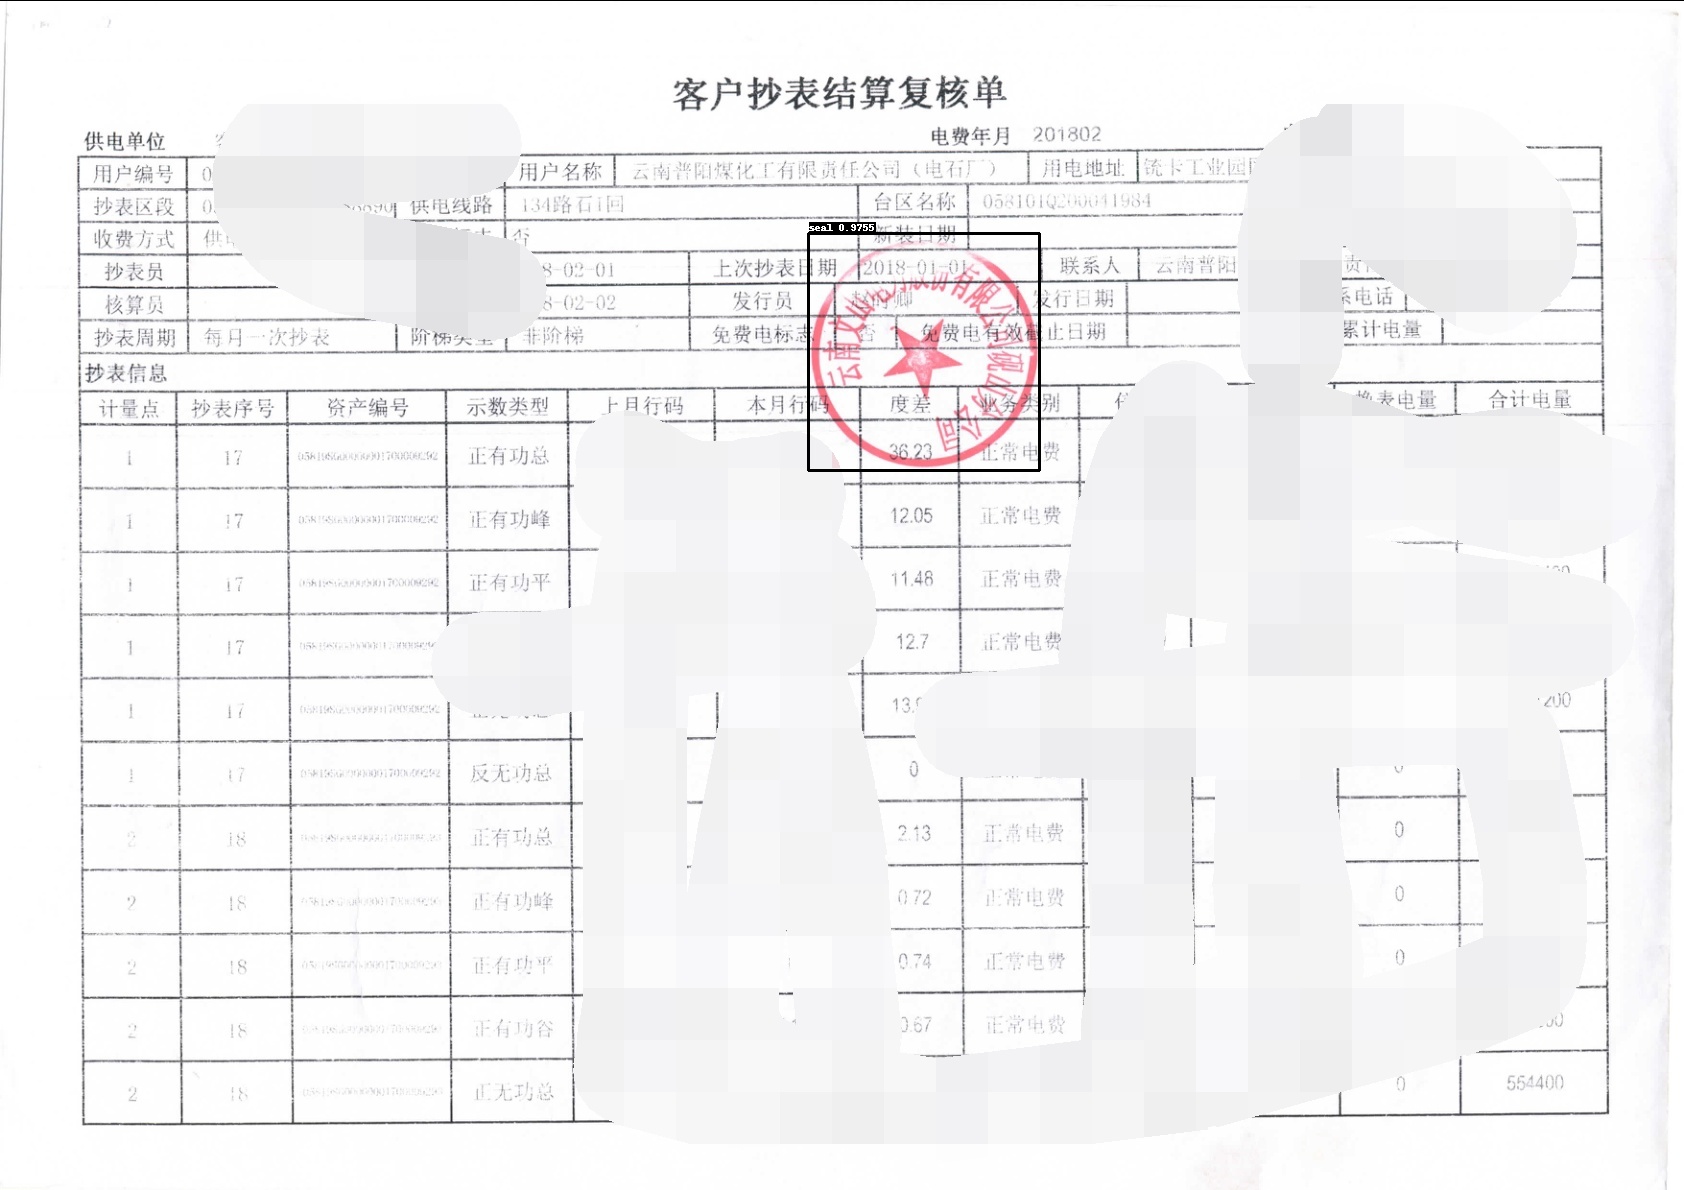
在实际应用中,印章多是出现在合同,发票,公告等场景中,印章文字识别的任务需要排除图像中背景文字的影响,因此需要先检测出图像中的印章区域。
借助PaddleDetection目标检测库可以很容易的实现印章检测任务,使用PaddleDetection训练印章检测任务流程如下:
- 选择算法
- 修改数据集配置路径
- 启动训练
**算法选择**
PaddleDetection中有许多检测算法可以选择,考虑到每条数据中印章区域较为清晰,且考虑到性能需求。在本项目中,我们采用mobilenetv3为backbone的ppyolo算法完成印章检测任务,对应的配置文件是:configs/ppyolo/ppyolo_mbv3_large.yml
**修改配置文件**
配置文件中的默认数据路径是COCO,
需要修改为印章检测的数据路径,主要修改如下:
在配置文件'configs/ppyolo/ppyolo_mbv3_large.yml'末尾增加如下内容:
```
metric: VOC
map_type: 11point
num_classes: 2
TrainDataset:
!VOCDataSet
dataset_dir: dataset/seal_VOC
anno_path: train.txt
label_list: label_list.txt
data_fields: ['image', 'gt_bbox', 'gt_class', 'difficult']
EvalDataset:
!VOCDataSet
dataset_dir: dataset/seal_VOC
anno_path: test.txt
label_list: label_list.txt
data_fields: ['image', 'gt_bbox', 'gt_class', 'difficult']
TestDataset:
!ImageFolder
anno_path: dataset/seal_VOC/label_list.txt
```
配置文件中设置的数据路径在PaddleDetection/dataset目录下,我们可以将处理后的印章检测训练数据移动到PaddleDetection/dataset目录下或者创建一个软连接。
```
!ln -s seal_VOC ./PaddleDetection/dataset/
```
另外图象中印章数量比较少,可以调整NMS后处理的检测框数量,即keep_top_k,nms_top_k 从100,1000,调整为10,100。在配置文件'configs/ppyolo/ppyolo_mbv3_large.yml'末尾增加如下内容完成后处理参数的调整
```
BBoxPostProcess:
decode:
name: YOLOBox
conf_thresh: 0.005
downsample_ratio: 32
clip_bbox: true
scale_x_y: 1.05
nms:
name: MultiClassNMS
keep_top_k: 10 # 修改前100
nms_threshold: 0.45
nms_top_k: 100 # 修改前1000
score_threshold: 0.005
```
修改完成后,需要在PaddleDetection中增加印章数据的处理代码,即在PaddleDetection/ppdet/data/source/目录下创建seal.py文件,文件中填充如下代码:
```
import os
import numpy as np
from ppdet.core.workspace import register, serializable
from .dataset import DetDataset
import cv2
import json
from ppdet.utils.logger import setup_logger
logger = setup_logger(__name__)
@register
@serializable
class SealDataSet(DetDataset):
"""
Load dataset with COCO format.
Args:
dataset_dir (str): root directory for dataset.
image_dir (str): directory for images.
anno_path (str): coco annotation file path.
data_fields (list): key name of data dictionary, at least have 'image'.
sample_num (int): number of samples to load, -1 means all.
load_crowd (bool): whether to load crowded ground-truth.
False as default
allow_empty (bool): whether to load empty entry. False as default
empty_ratio (float): the ratio of empty record number to total
record's, if empty_ratio is out of [0. ,1.), do not sample the
records and use all the empty entries. 1. as default
"""
def __init__(self,
dataset_dir=None,
image_dir=None,
anno_path=None,
data_fields=['image'],
sample_num=-1,
load_crowd=False,
allow_empty=False,
empty_ratio=1.):
super(SealDataSet, self).__init__(dataset_dir, image_dir, anno_path,
data_fields, sample_num)
self.load_image_only = False
self.load_semantic = False
self.load_crowd = load_crowd
self.allow_empty = allow_empty
self.empty_ratio = empty_ratio
def _sample_empty(self, records, num):
# if empty_ratio is out of [0. ,1.), do not sample the records
if self.empty_ratio < 0. or self.empty_ratio >= 1.:
return records
import random
sample_num = min(
int(num * self.empty_ratio / (1 - self.empty_ratio)), len(records))
records = random.sample(records, sample_num)
return records
def parse_dataset(self):
anno_path = os.path.join(self.dataset_dir, self.anno_path)
image_dir = os.path.join(self.dataset_dir, self.image_dir)
records = []
empty_records = []
ct = 0
assert anno_path.endswith('.txt'), \
'invalid seal_gt file: ' + anno_path
all_datas = open(anno_path, 'r').readlines()
for idx, line in enumerate(all_datas):
im_path, label = line.strip().split('\t')
img_path = os.path.join(image_dir, im_path)
label = json.loads(label)
im_h, im_w, im_c = cv2.imread(img_path).shape
coco_rec = {
'im_file': img_path,
'im_id': np.array([idx]),
'h': im_h,
'w': im_w,
} if 'image' in self.data_fields else {}
if not self.load_image_only:
bboxes = []
for anno in label:
poly = anno['polys']
# poly to box
x1 = np.min(np.array(poly)[:, 0])
y1 = np.min(np.array(poly)[:, 1])
x2 = np.max(np.array(poly)[:, 0])
y2 = np.max(np.array(poly)[:, 1])
eps = 1e-5
if x2 - x1 > eps and y2 - y1 > eps:
clean_box = [
round(float(x), 3) for x in [x1, y1, x2, y2]
]
anno = {'clean_box': clean_box, 'gt_cls':int(anno['cls'])}
bboxes.append(anno)
else:
logger.info("invalid box")
num_bbox = len(bboxes)
if num_bbox <= 0:
continue
gt_bbox = np.zeros((num_bbox, 4), dtype=np.float32)
gt_class = np.zeros((num_bbox, 1), dtype=np.int32)
is_crowd = np.zeros((num_bbox, 1), dtype=np.int32)
# gt_poly = [None] * num_bbox
for i, box in enumerate(bboxes):
gt_class[i][0] = box['gt_cls']
gt_bbox[i, :] = box['clean_box']
is_crowd[i][0] = 0
gt_rec = {
'is_crowd': is_crowd,
'gt_class': gt_class,
'gt_bbox': gt_bbox,
# 'gt_poly': gt_poly,
}
for k, v in gt_rec.items():
if k in self.data_fields:
coco_rec[k] = v
records.append(coco_rec)
ct += 1
if self.sample_num > 0 and ct >= self.sample_num:
break
self.roidbs = records
```
**启动训练**
启动单卡训练的命令为:
```
!python3 tools/train.py -c configs/ppyolo/ppyolo_mbv3_large.yml --eval
# 分布式训练命令为:
!python3 -m paddle.distributed.launch --gpus 0,1,2,3,4,5,6,7 tools/train.py -c configs/ppyolo/ppyolo_mbv3_large.yml --eval
```
训练完成后,日志中会打印模型的精度:
```
[07/05 11:42:09] ppdet.engine INFO: Eval iter: 0
[07/05 11:42:14] ppdet.metrics.metrics INFO: Accumulating evaluatation results...
[07/05 11:42:14] ppdet.metrics.metrics INFO: mAP(0.50, 11point) = 99.31%
[07/05 11:42:14] ppdet.engine INFO: Total sample number: 112, averge FPS: 26.45840794253432
[07/05 11:42:14] ppdet.engine INFO: Best test bbox ap is 0.996.
```
我们可以使用训练好的模型观察预测结果:
```
!python3 tools/infer.py -c configs/ppyolo/ppyolo_mbv3_large.yml -o weights=./output/ppyolo_mbv3_large/model_final.pdparams --img_dir=./test.jpg
```
预测结果如下:
# 5. 印章文字识别实践
在使用ppyolo检测到印章区域后,接下来借助PaddleOCR里的文字识别能力,完成印章中文字的识别。
PaddleOCR中的OCR算法包含文字检测算法,文字识别算法以及OCR端对端算法。
文字检测算法负责检测到图像中的文字,再由文字识别模型识别出检测到的文字,进而实现OCR的任务。文字检测+文字识别串联完成OCR任务的架构称为两阶段的OCR算法。相对应的端对端的OCR方法可以用一个算法同时完成文字检测和识别的任务。
| 文字检测 | 文字识别 | 端对端算法 |
| -------- | -------- | -------- |
| DB\DB++\EAST\SAST\PSENet | SVTR\CRNN\NRTN\Abinet\SAR\... | PGNet |
本节中将分别介绍端对端的文字检测识别算法以及两阶段的文字检测识别算法在印章检测识别任务上的实践。
## 5.1 端对端印章文字识别实践
本节介绍使用PaddleOCR里的PGNet算法完成印章文字识别。
PGNet属于端对端的文字检测识别算法,在PaddleOCR中的配置文件为:
[PaddleOCR/configs/e2e/e2e_r50_vd_pg.yml](https://github.com/PaddlePaddle/PaddleOCR/blob/release/2.6/configs/e2e/e2e_r50_vd_pg.yml)
使用PGNet完成文字检测识别任务的步骤为:
- 修改配置文件
- 启动训练
PGNet默认配置文件的数据路径为totaltext数据集路径,本次训练中,需要修改为上一节数据处理后得到的标签文件和数据目录:
训练数据配置修改后如下:
```
Train:
dataset:
name: PGDataSet
data_dir: ./train_data/seal_ppocr
label_file_list: [./train_data/seal_ppocr/seal_ppocr_img.txt]
ratio_list: [1.0]
```
测试数据集配置修改后如下:
```
Eval:
dataset:
name: PGDataSet
data_dir: ./train_data/seal_ppocr_test
label_file_list: [./train_data/seal_ppocr_test/seal_ppocr_img.txt]
```
启动训练的命令为:
```
!python3 tools/train.py -c configs/e2e/e2e_r50_vd_pg.yml
```
模型训练完成后,可以得到最终的精度为47.4%。数据量较少,以及数据质量较差会影响模型的训练精度,如果有更多的数据参与训练,精度将进一步提升。
如需获取已训练模型,请扫文末的二维码填写问卷,加入PaddleOCR官方交流群获取全部OCR垂类模型下载链接、《动手学OCR》电子书等全套OCR学习资料🎁
## 5.2 两阶段印章文字识别实践
上一节介绍了使用PGNet实现印章识别任务的训练流程。本小节将介绍使用PaddleOCR里的文字检测和文字识别算法分别完成印章文字的检测和识别。
### 5.2.1 印章文字检测
PaddleOCR中包含丰富的文字检测算法,包含DB,DB++,EAST,SAST,PSENet等等。其中DB,DB++,PSENet均支持弯曲文字检测,本项目中,使用DB++作为印章弯曲文字检测算法。
PaddleOCR中发布的db++文字检测算法模型是英文文本检测模型,因此需要重新训练模型。
修改[DB++配置文件](DB++的默认配置文件位于[configs/det/det_r50_db++_icdar15.yml](https://github.com/PaddlePaddle/PaddleOCR/blob/release/2.6/configs/det/det_r50_db%2B%2B_icdar15.yml)
中的数据路径:
```
Train:
dataset:
name: SimpleDataSet
data_dir: ./train_data/seal_ppocr
label_file_list: [./train_data/seal_ppocr/seal_ppocr_img.txt]
ratio_list: [1.0]
```
测试数据集配置修改后如下:
```
Eval:
dataset:
name: SimpleDataSet
data_dir: ./train_data/seal_ppocr_test
label_file_list: [./train_data/seal_ppocr_test/seal_ppocr_img.txt]
```
启动训练:
```
!python3 tools/train.py -c configs/det/det_r50_db++_icdar15.yml -o Global.epoch_num=100
```
考虑到数据较少,通过Global.epoch_num设置仅训练100个epoch。
模型训练完成后,在测试集上预测的可视化效果如下:
如需获取已训练模型,请扫文末的二维码填写问卷,加入PaddleOCR官方交流群获取全部OCR垂类模型下载链接、《动手学OCR》电子书等全套OCR学习资料🎁
### 5.2.2 印章文字识别
上一节中完成了印章文字的检测模型训练,本节介绍印章文字识别模型的训练。识别模型采用SVTR算法,SVTR算法是IJCAI收录的文字识别算法,SVTR模型具备超轻量高精度的特点。
在启动训练之前,需要准备印章文字识别需要的数据集,需要使用如下代码,将印章中的文字区域剪切出来构建训练集。
```
import cv2
import numpy as np
def get_rotate_crop_image(img, points):
'''
img_height, img_width = img.shape[0:2]
left = int(np.min(points[:, 0]))
right = int(np.max(points[:, 0]))
top = int(np.min(points[:, 1]))
bottom = int(np.max(points[:, 1]))
img_crop = img[top:bottom, left:right, :].copy()
points[:, 0] = points[:, 0] - left
points[:, 1] = points[:, 1] - top
'''
assert len(points) == 4, "shape of points must be 4*2"
img_crop_width = int(
max(
np.linalg.norm(points[0] - points[1]),
np.linalg.norm(points[2] - points[3])))
img_crop_height = int(
max(
np.linalg.norm(points[0] - points[3]),
np.linalg.norm(points[1] - points[2])))
pts_std = np.float32([[0, 0], [img_crop_width, 0],
[img_crop_width, img_crop_height],
[0, img_crop_height]])
M = cv2.getPerspectiveTransform(points, pts_std)
dst_img = cv2.warpPerspective(
img,
M, (img_crop_width, img_crop_height),
borderMode=cv2.BORDER_REPLICATE,
flags=cv2.INTER_CUBIC)
dst_img_height, dst_img_width = dst_img.shape[0:2]
if dst_img_height * 1.0 / dst_img_width >= 1.5:
dst_img = np.rot90(dst_img)
return dst_img
def run(data_dir, label_file, save_dir):
datas = open(label_file, 'r').readlines()
for idx, line in enumerate(datas):
img_path, label = line.strip().split('\t')
img_path = os.path.join(data_dir, img_path)
label = json.loads(label)
src_im = cv2.imread(img_path)
if src_im is None:
continue
for anno in label:
seal_box = anno['seal_box']
txt_boxes = anno['polys']
crop_im = get_rotate_crop_image(src_im, text_boxes)
save_path = os.path.join(save_dir, f'{idx}.png')
if not os.path.exists(save_dir):
os.makedirs(save_dir)
# print(src_im.shape)
cv2.imwrite(save_path, crop_im)
```
数据处理完成后,即可配置训练的配置文件。SVTR配置文件选择[configs/rec/PP-OCRv3/ch_PP-OCRv3_rec.yml](https://github.com/PaddlePaddle/PaddleOCR/blob/release/2.6/configs/rec/PP-OCRv3/ch_PP-OCRv3_rec.yml)
修改SVTR配置文件中的训练数据部分如下:
```
Train:
dataset:
name: SimpleDataSet
data_dir: ./train_data/seal_ppocr_crop/
label_file_list:
- ./train_data/seal_ppocr_crop/train_list.txt
```
修改预测部分配置文件:
```
Train:
dataset:
name: SimpleDataSet
data_dir: ./train_data/seal_ppocr_crop/
label_file_list:
- ./train_data/seal_ppocr_crop_test/train_list.txt
```
启动训练:
```
!python3 tools/train.py -c configs/rec/PP-OCRv3/ch_PP-OCRv3_rec.yml
```
训练完成后可以发现测试集指标达到了61%。
由于数据较少,训练时会发现在训练集上的acc指标远大于测试集上的acc指标,即出现过拟合现象。通过补充数据和一些数据增强可以缓解这个问题。
如需获取已训练模型,请扫下图二维码填写问卷,加入PaddleOCR官方交流群获取全部OCR垂类模型下载链接、《动手学OCR》电子书等全套OCR学习资料🎁